
Guides
Inside a typical pantry organization project, stage by stage
A stage-by-stage account of a pantry reorganization, from emptying and inventory to shelf heights, range clearance and the zones that keep it working.
A pantry project is a kitchen project with a narrower footprint and the same hazards.
What to take away
- Empty the whole thing before deciding anything.
- Cleaning products do not belong in the same zone as food.
- What sits above and beside the range is a safety decision.
- Zones survive; labels alone do not.
Stage one: empty and inventory
A small pantry takes one to two days end to end. Most of the first day is emptying and sorting, and the second day is putting it back. A walk-in runs longer, often a full weekend.
Expect a typical DIY reset to cost $150 to $600 in bins, risers, a label maker and drawer inserts. A custom built-in is quoted by linear foot and cabinet grade, and typical quotes run from $1,500 to $6,000 installed. Lighting or a permit pushes that higher.
Everything comes out. Not most of it. The purpose is to see duplicates, to find what has expired, and to learn the true volume of each category. Wipe the shelves while they are empty, because this is the only easy opportunity.
Sort into keep, remove and relocate. The relocate pile is the important one, and it usually contains cleaners, batteries, tools and light bulbs that drifted into a food cupboard.
Stage two: separate food from everything else
Household cleaners, solvents and detergents leave the food zone. CPSC's safer cooking guidance puts several of these in one line: keep curtains, towels and pot holders away from hot surfaces, store solvents and flammable cleaners away from heat sources, and never keep gasoline in the house.
In practice, that means chemicals go to a latched low cupboard away from the cooking area, or out of the kitchen entirely, and nothing flammable shares a shelf with the toaster.
Stage three: fix the range relationship
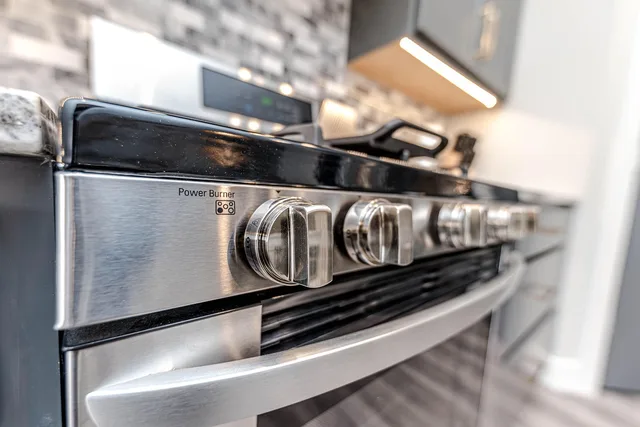
The pantry often sits next to the range, and loading it changes behavior around the stove.
CPSC's 2006-2008 data, published in the range tip-over safety alert, puts the estimated yearly average at 1,700 appliance-related instability and tip-over injuries treated in emergency departments.
The alert reports 13 fatalities between 2000 and 2008 tied to instability and tip-over of stoves, ovens and ranges, many involving children under 10.
Its advice includes checking that the range is held securely by its anti-tip bracket, and moving tempting items such as cookie jars away from the range so children do not use an open oven door as a step. If snacks live above the stove, move them. That is a pantry decision with a real consequence.
Stage four: set shelf heights to the contents
Measure the tallest items you actually keep, then set shelves to those heights with a little tolerance. A standard cereal box is about 12 inches tall, so a cereal shelf set at 13 inches clears it.
A tape measure and a shelf-pin drilling jig do the work, and the jig keeps the holes level across both side panels. Most pantries waste a third of their volume on air above short jars.
Before, a shelf gap of 9 inches left cereal boxes leaning on their sides. After, the same shelf at 13 inches holds the box upright with a row of cans in front.
Stage four: set shelf heights
- Daily items between hip and shoulder height.
- Heavy bulk low, where lifting is safe.
- Rarely used items on top, reached with a stable stool.
- Nothing you need every day above shoulder height.
Stage five: build zones, then label
Zones do the work. Group by how you cook rather than by category: breakfast, baking, quick dinners, packed lunches, overflow. Each zone gets a defined space, and when a zone overflows that is the signal to buy less rather than to expand.
Stage six: write the rule
One line taped inside the door: what lives where and what stays out. Without it, the chemicals come back. The broader sequence for any storage build is in the planning guide, and the household-level version of these decisions sits in the field guide.
Common questions
Most common mistake: Reorganizing without emptying, which preserves every wrong assumption the old layout was built on.
How long does a pantry project take?
Should cleaning products ever be in a pantry?
Is decanting into matching jars worth it?
In this guide
- Pantry organization regrets homeowners mention again and againWhat people regret after reorganizing a pantry: decanting into glass, matching containers bought too early, latches trusted too far and deep shelves.
- How long does a pantry organization project really take?How long a pantry project takes, hour by hour and week by week, including emergency supply rotation and the seasons worth avoiding entirely.
- Vetting a pantry organization contractor before any range gets movedVet a pantry organization contractor: check range handling, anti-tip reinstallation, gas and electrical credentials, licenses, insurance and permits.
- Pantry organization upgrades ranked by daily use: lighting, shelf depth, step stool safety, and skipsPantry organization upgrades sorted into four tiers by how often you notice them, from lighting and shelf depth to step stool safety and what to skip.
- Maintaining a pantry after year one: resets, checks, and stock rotationA yearly maintenance routine for a working pantry: weekly resets, quarterly date checks, emergency stock rotation and the annual packaging and shelf audit.